3 minutes
Qnap container service : Pi-Hole
Introduction
In this post, I will discuss containerisation and Pi-Hole on a Qnap NAS.
QNAP container service
I have bought a QNAP a few months ago, and found that a container service can be run on it.
The QNAP service is Container Station. You can install both docker images or LXC container. The deployment is straight forward, both for the service itself or containers.
When you choose to deploy a Docker container, you can :
- search from Docker hub existing images
- deploy your own configuration template
So, you have a plenty of opportunity and deploy a lot of micro services on your NAS like if it is a ‘real server’.
Example of services which can be deployed :
- DNS server
- DHCP server
- Wordpress website
- Pi-Hole server !
- and so on
Pi-Hole
Pi-Hole is a service, which can be installed on your home lan, for example, and act as DNS server on your lan.
Once installed, you only need to do one thing : make your device use Pi-Hole ip as your DNS server, and it will filter all the requests. If you have a DHCP server on your lan, you only need to change the DNS ip served by the DHCP server to be the Pi-Hole ip.
The pros
- Easy install
- Do not need many ressources
- Quick install
- Open source and work on many distribution like Debian, Ubuntu, CentOs, Fedora, raspOs, and even Docker
- block all ads and improve network user experience
The con
In my opinion, the only con I have found :
- not appropriate for large scale networks or enterprise network, better use a “real” firewall
- can filter more than it needs by default
QNAP container installation
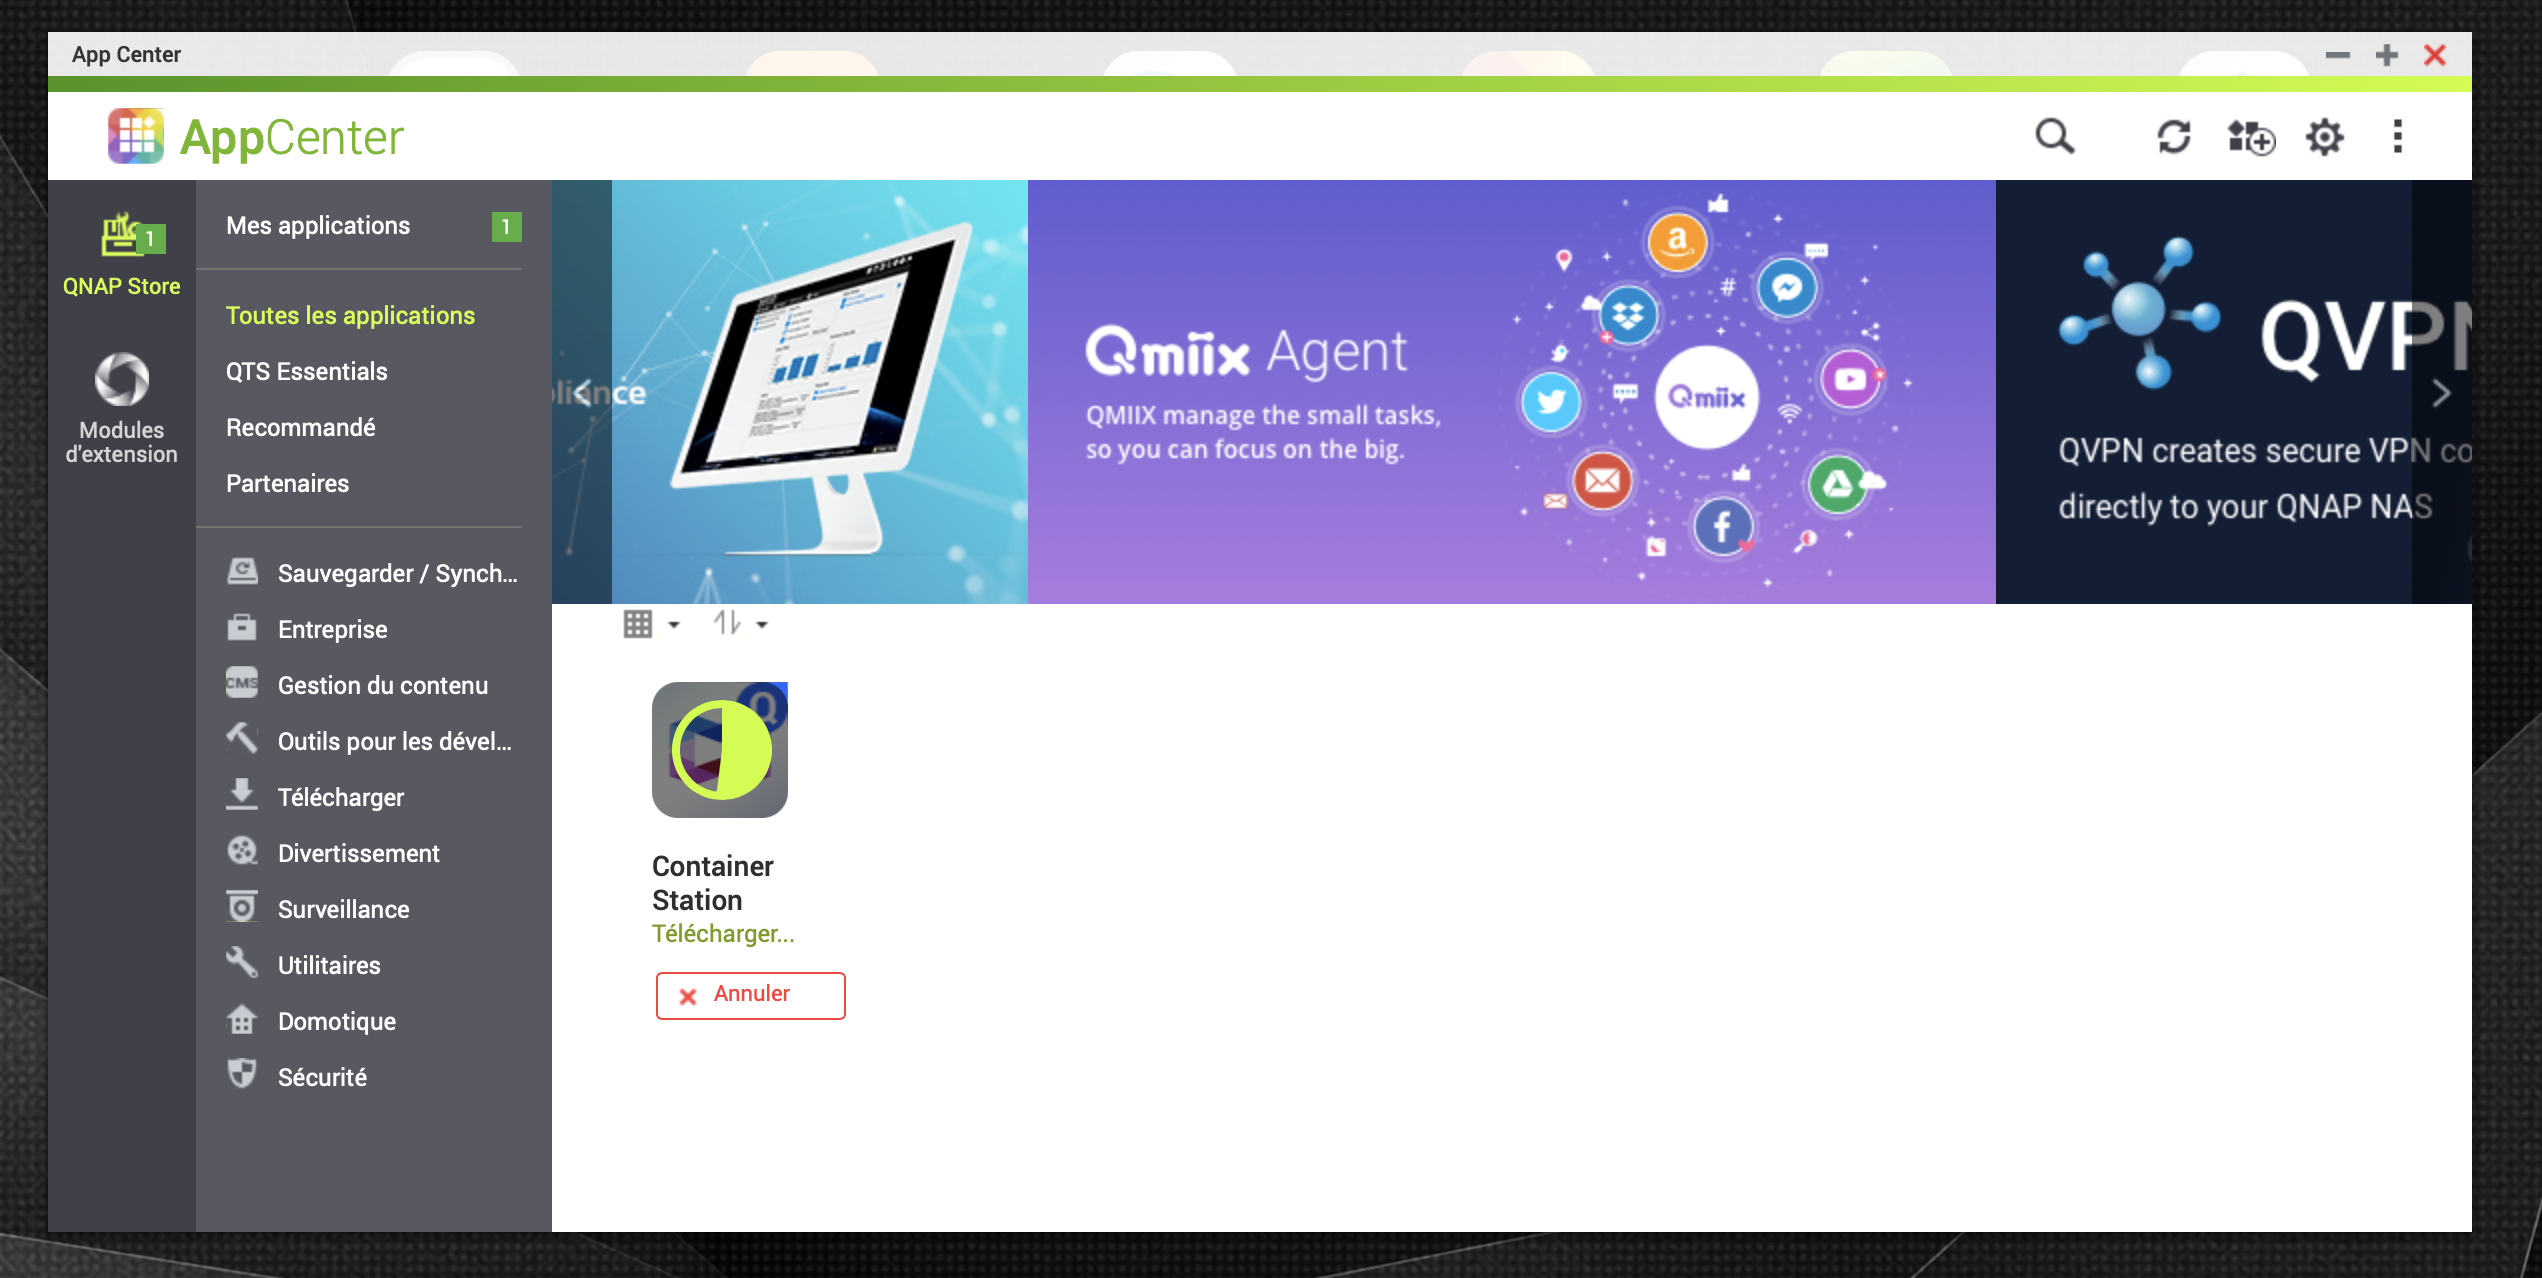
Install container station from Application Center :
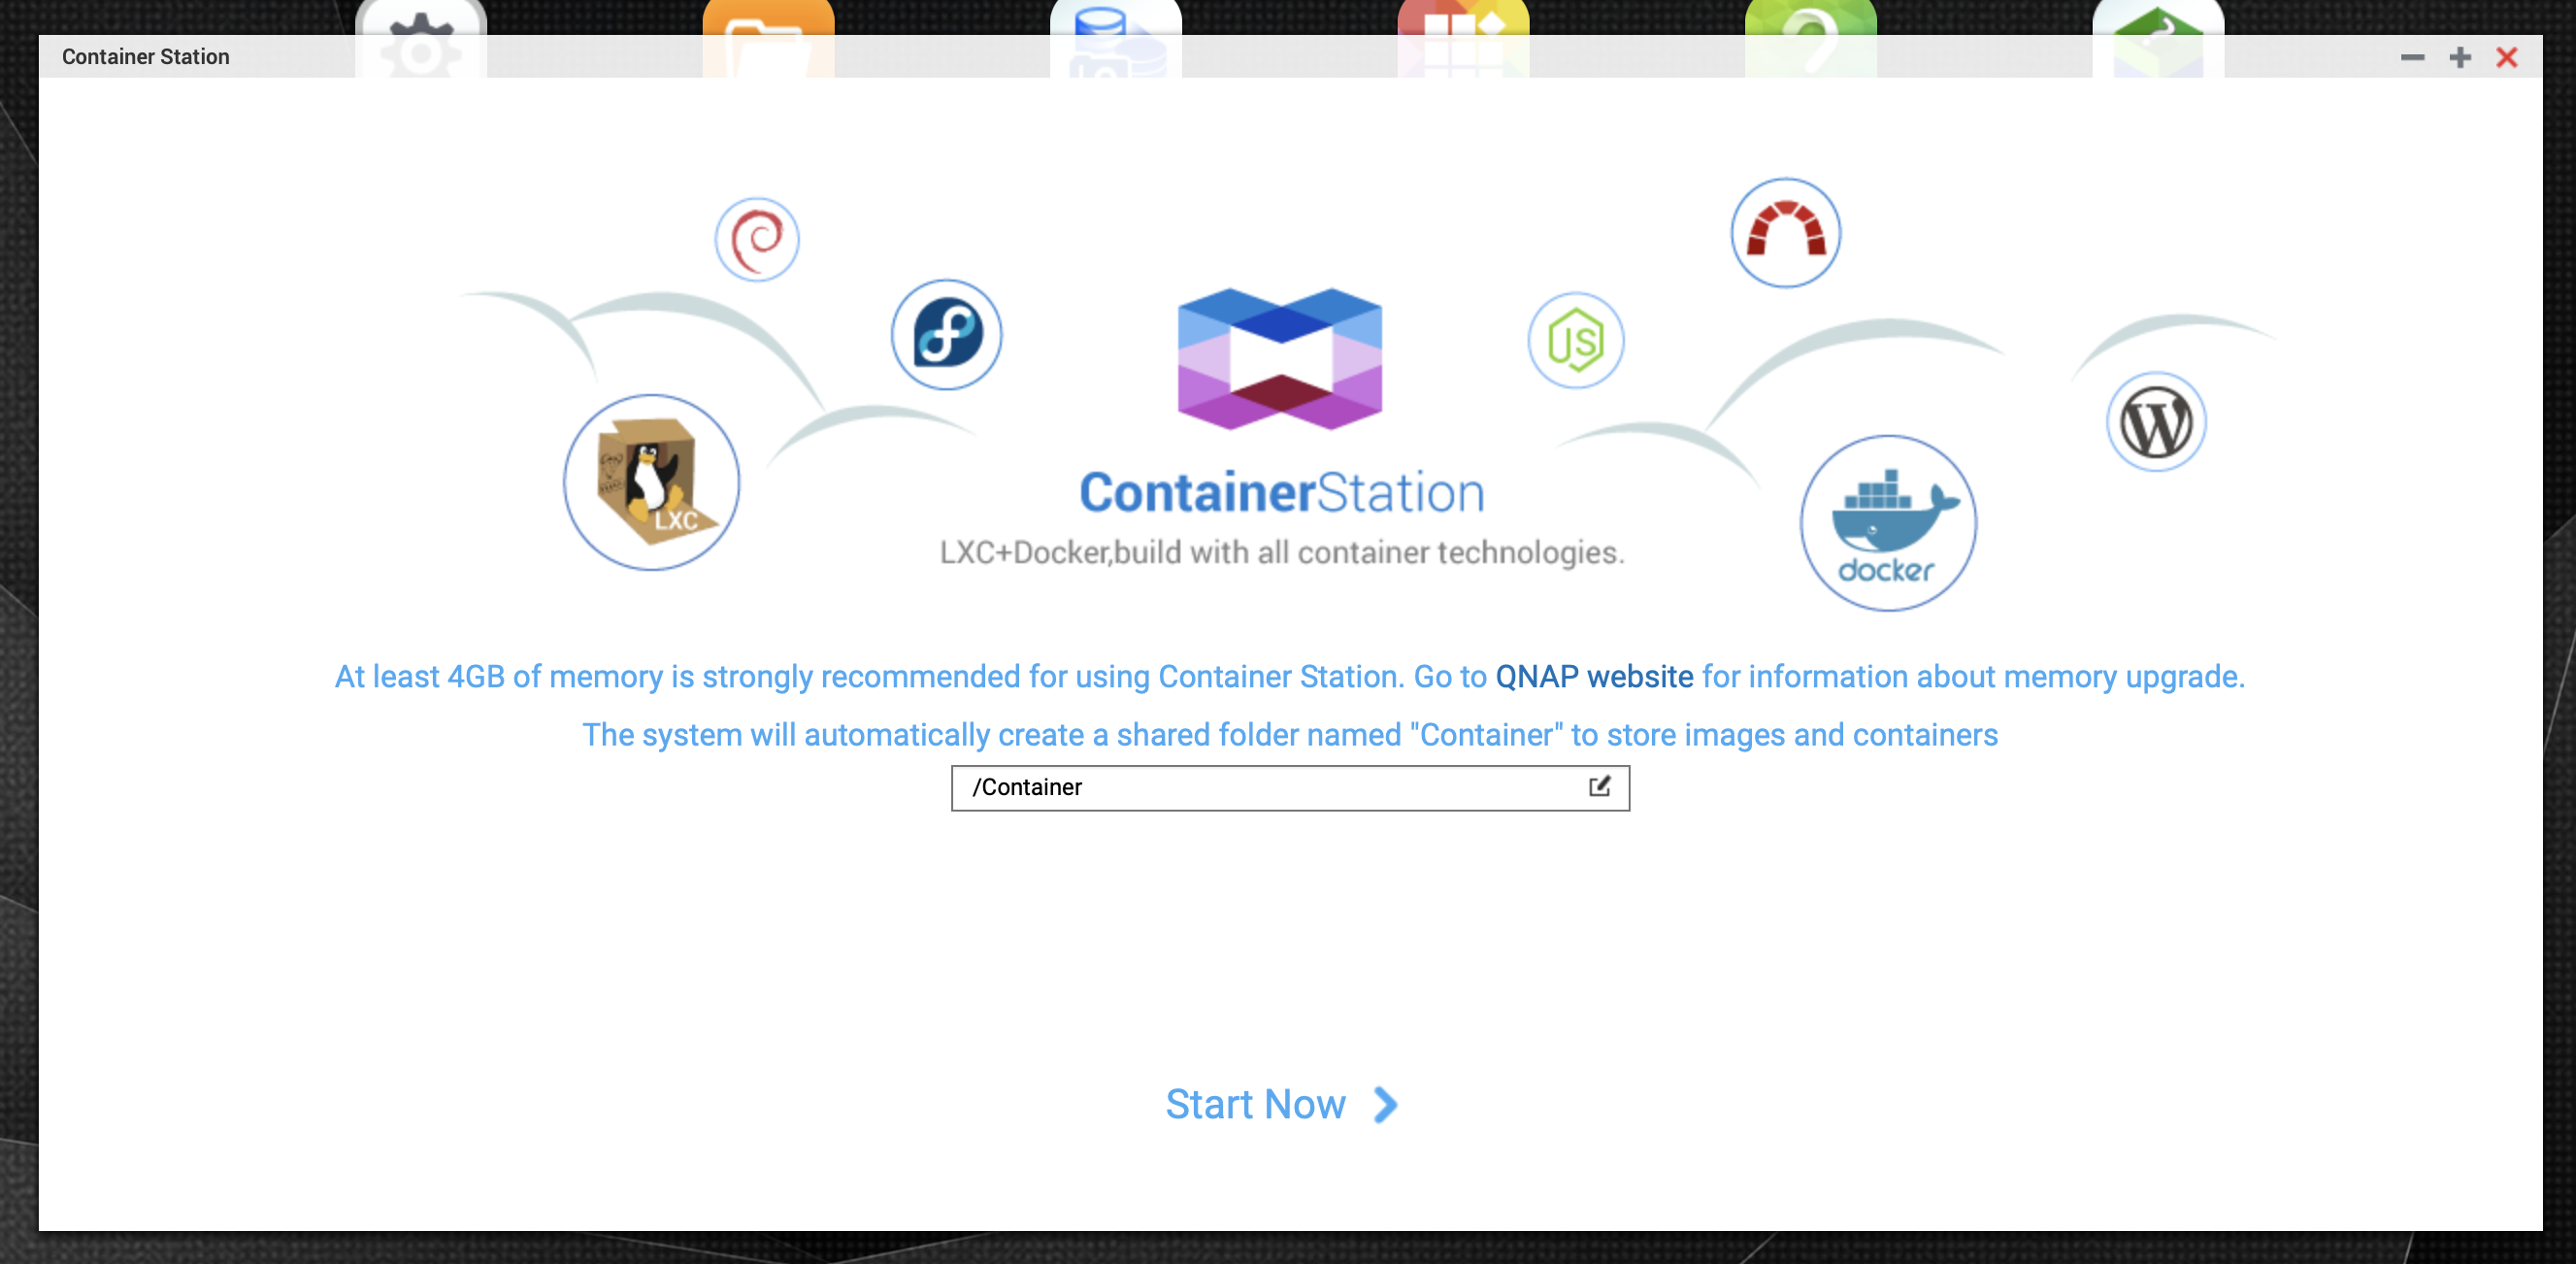
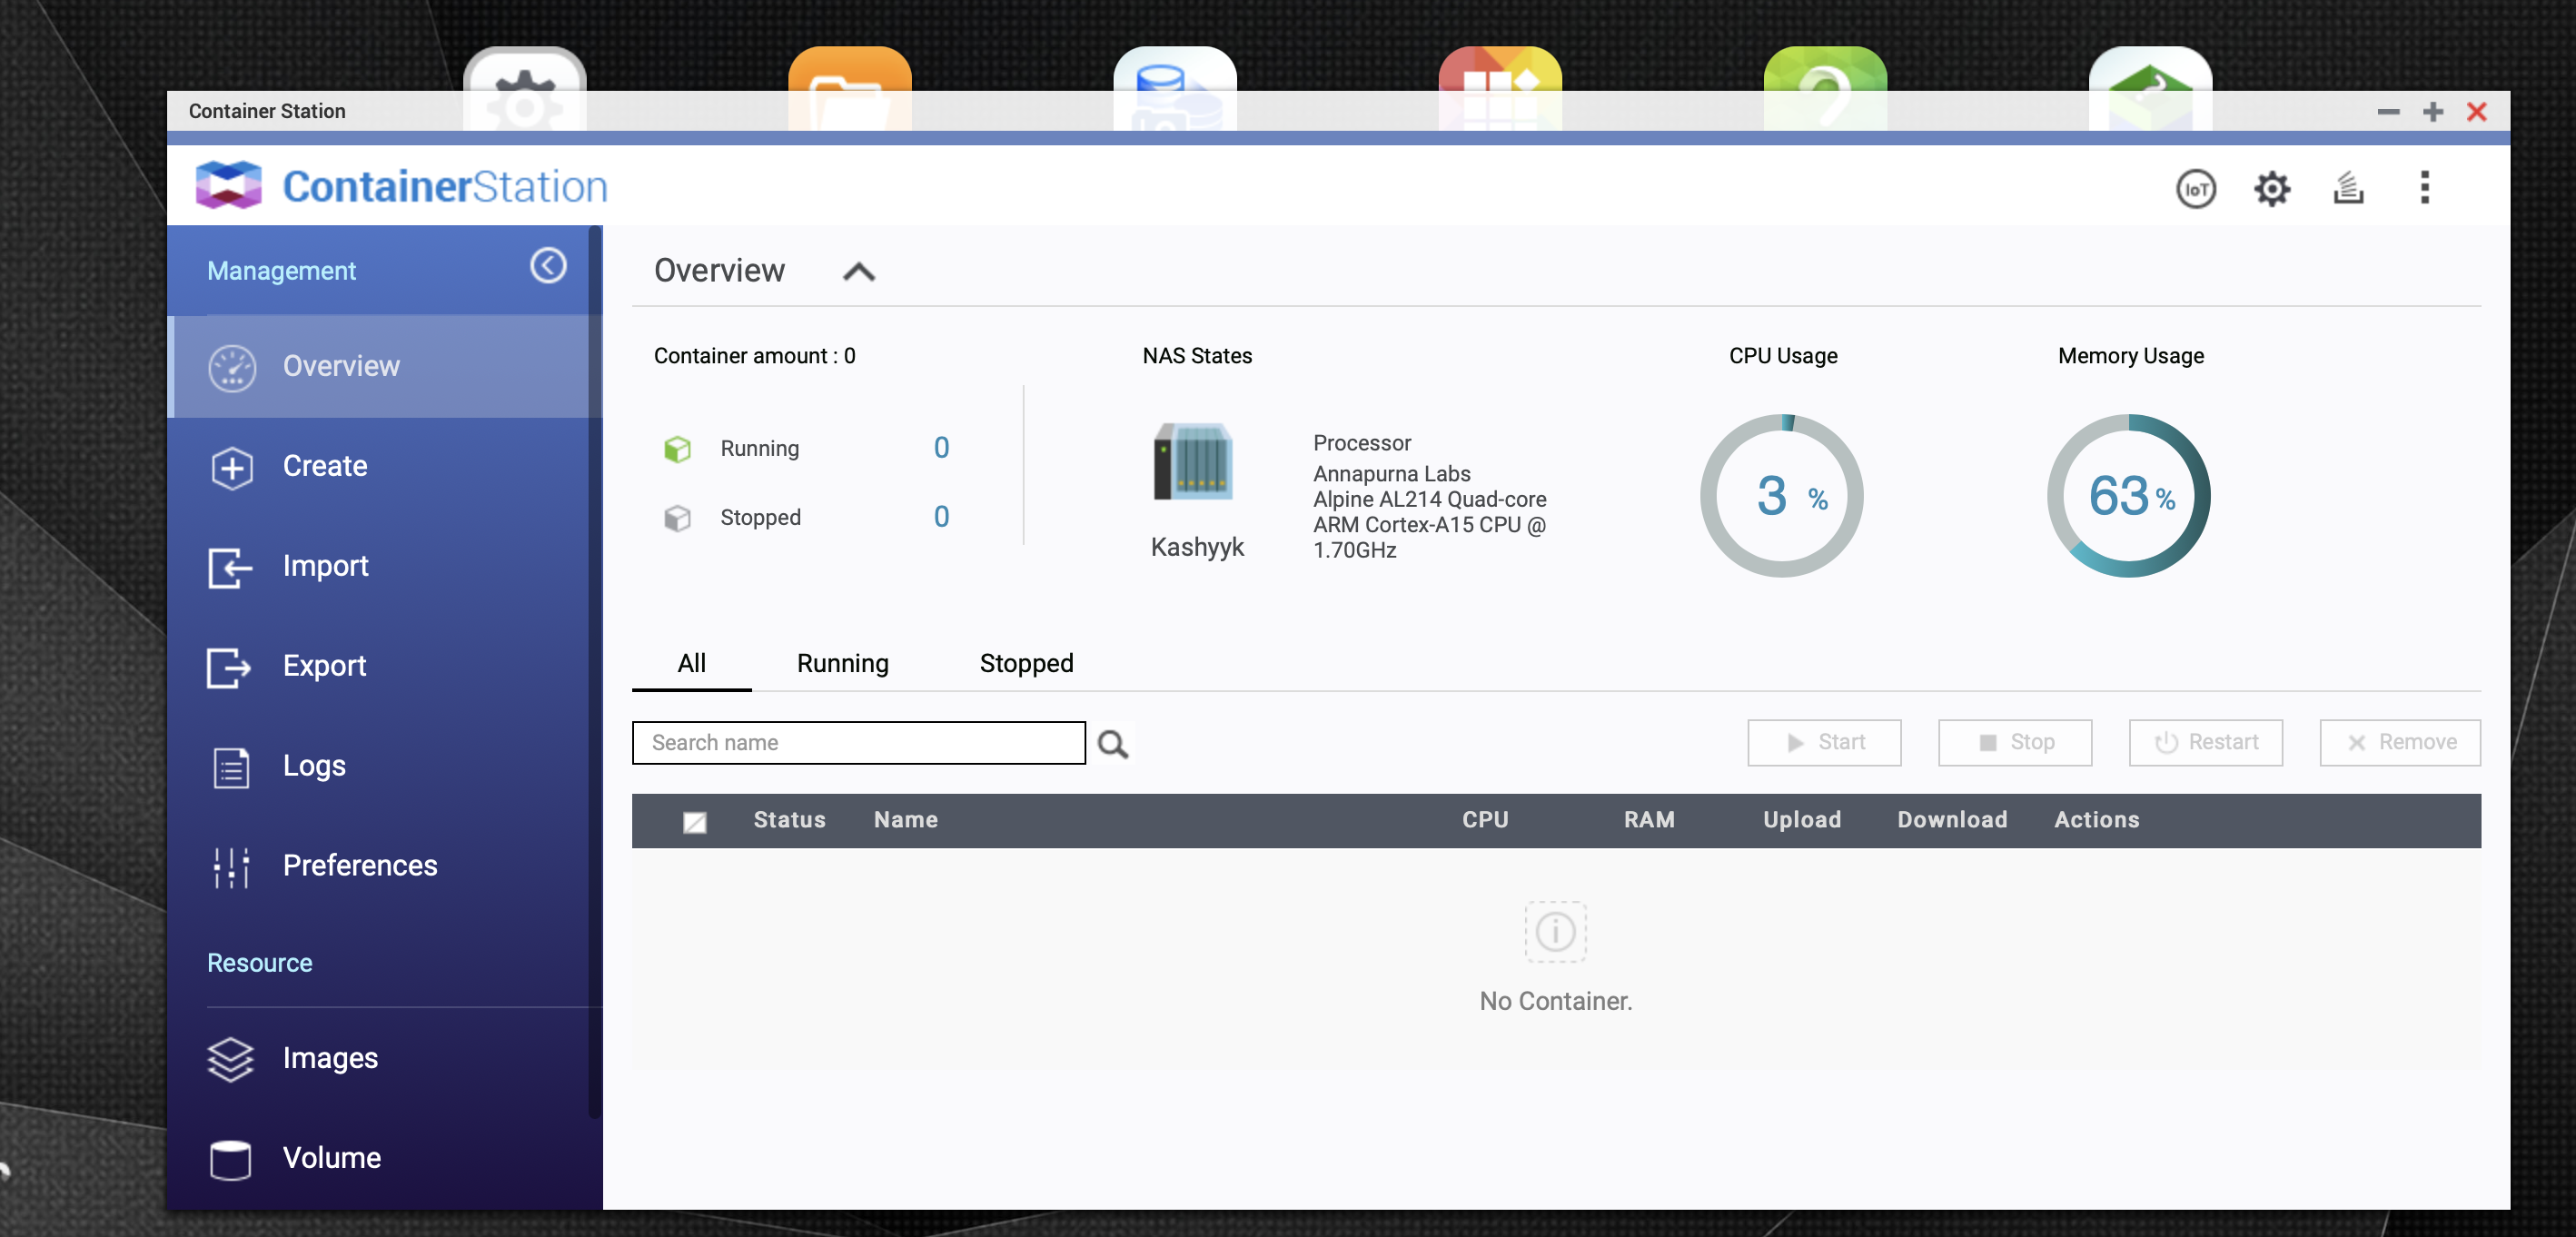
Once installed, you can launch container station :
Pi-Hole container creation
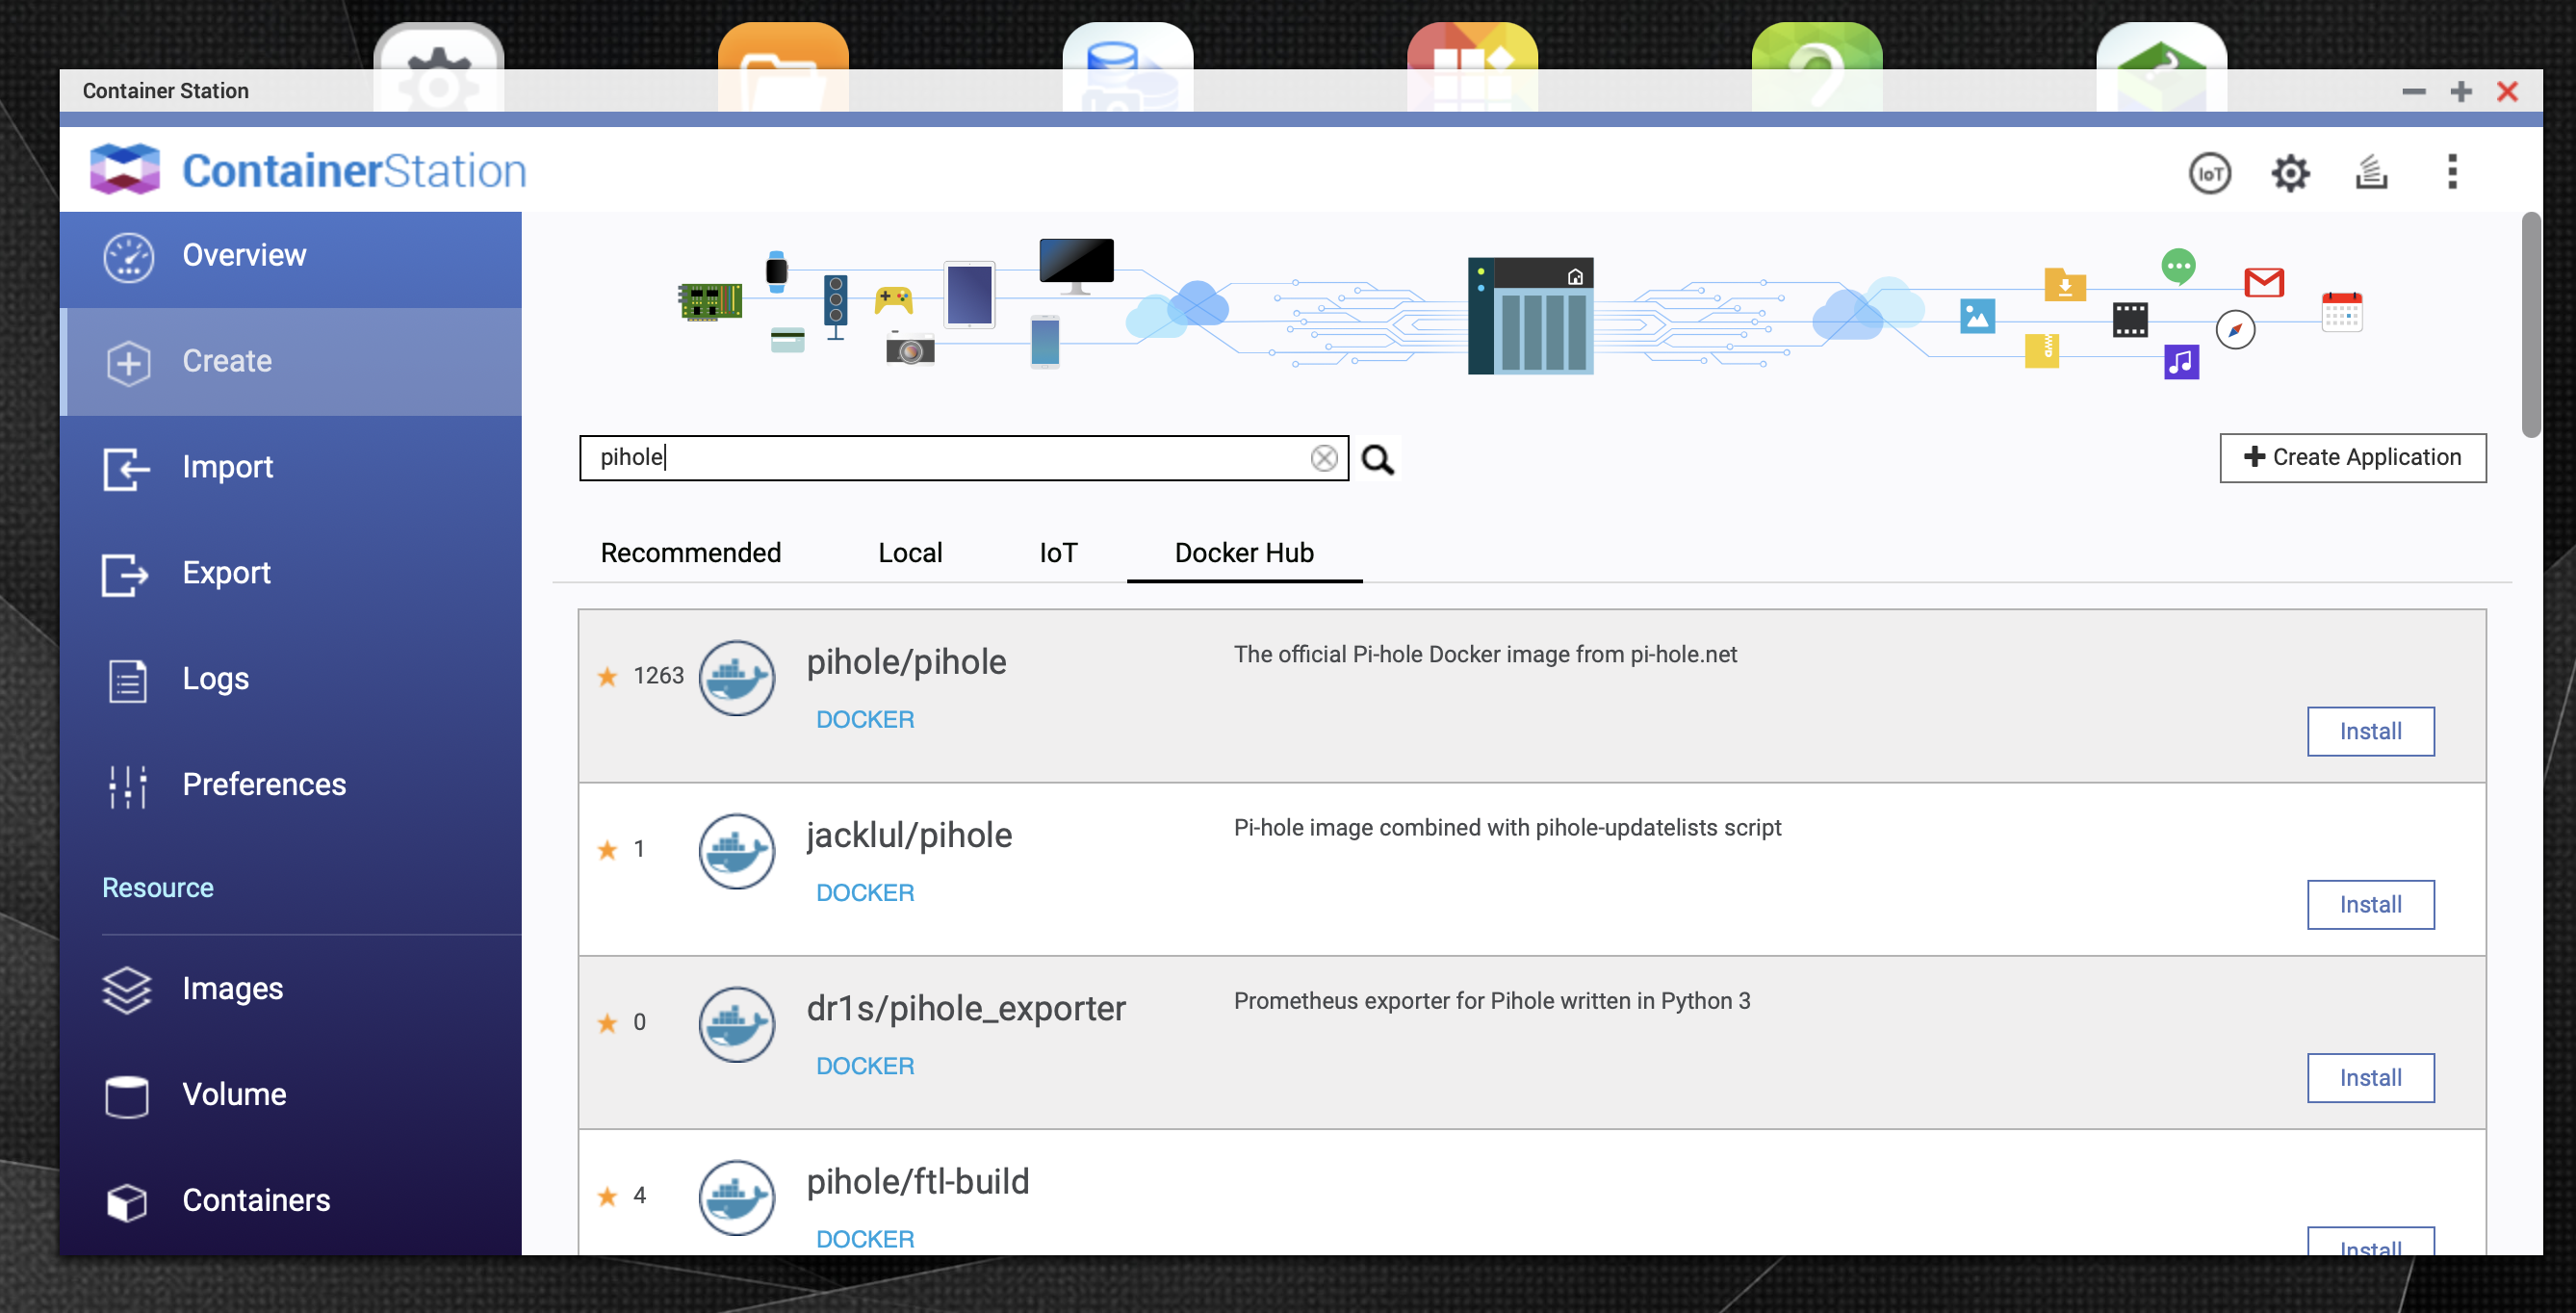
From container station, go on Create menu, then search for pihole. You can choose the official image :
Then, at creation state, choose a name. You can change a lot of settings, like minimum CPU or memory allocation.
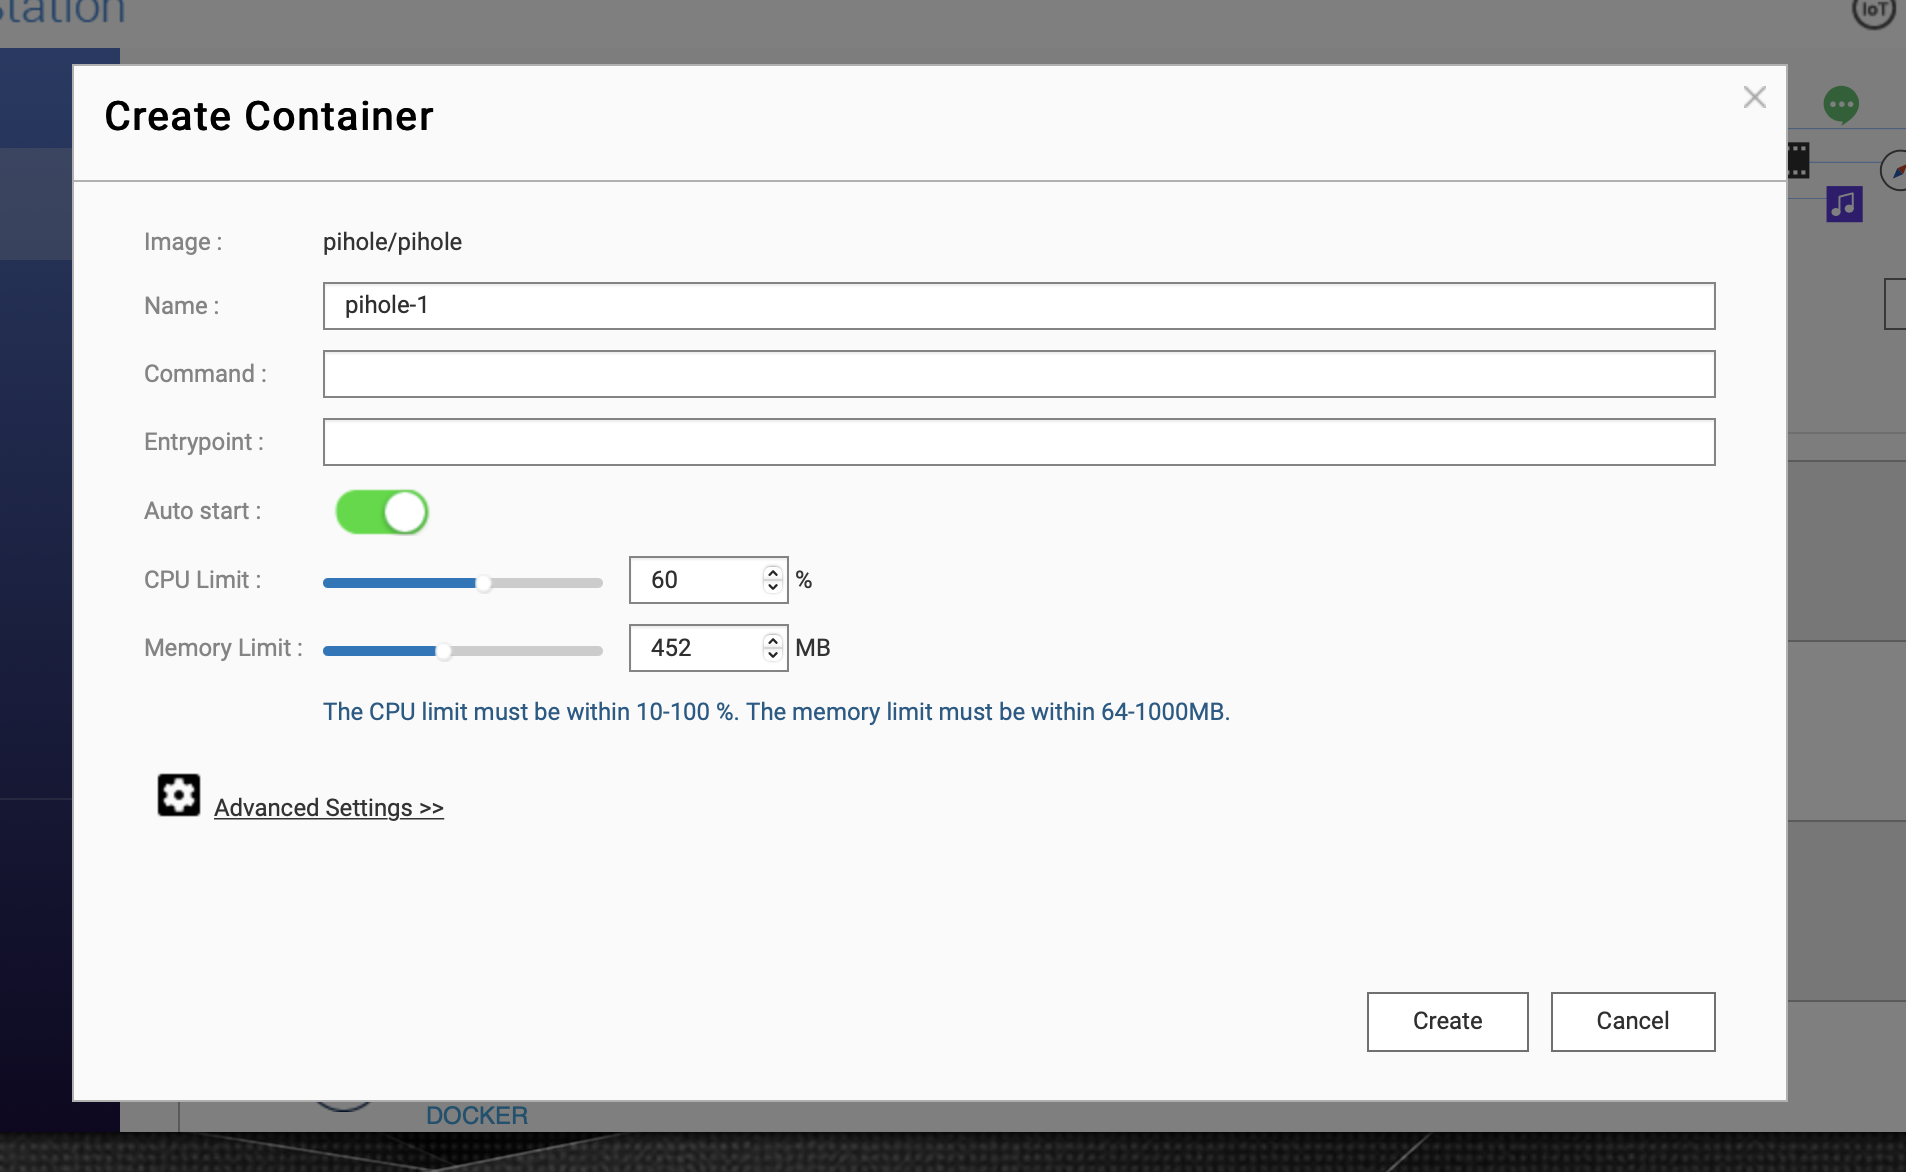
In the advanced settings, you can set the container a static ip, which is recommended in this case :
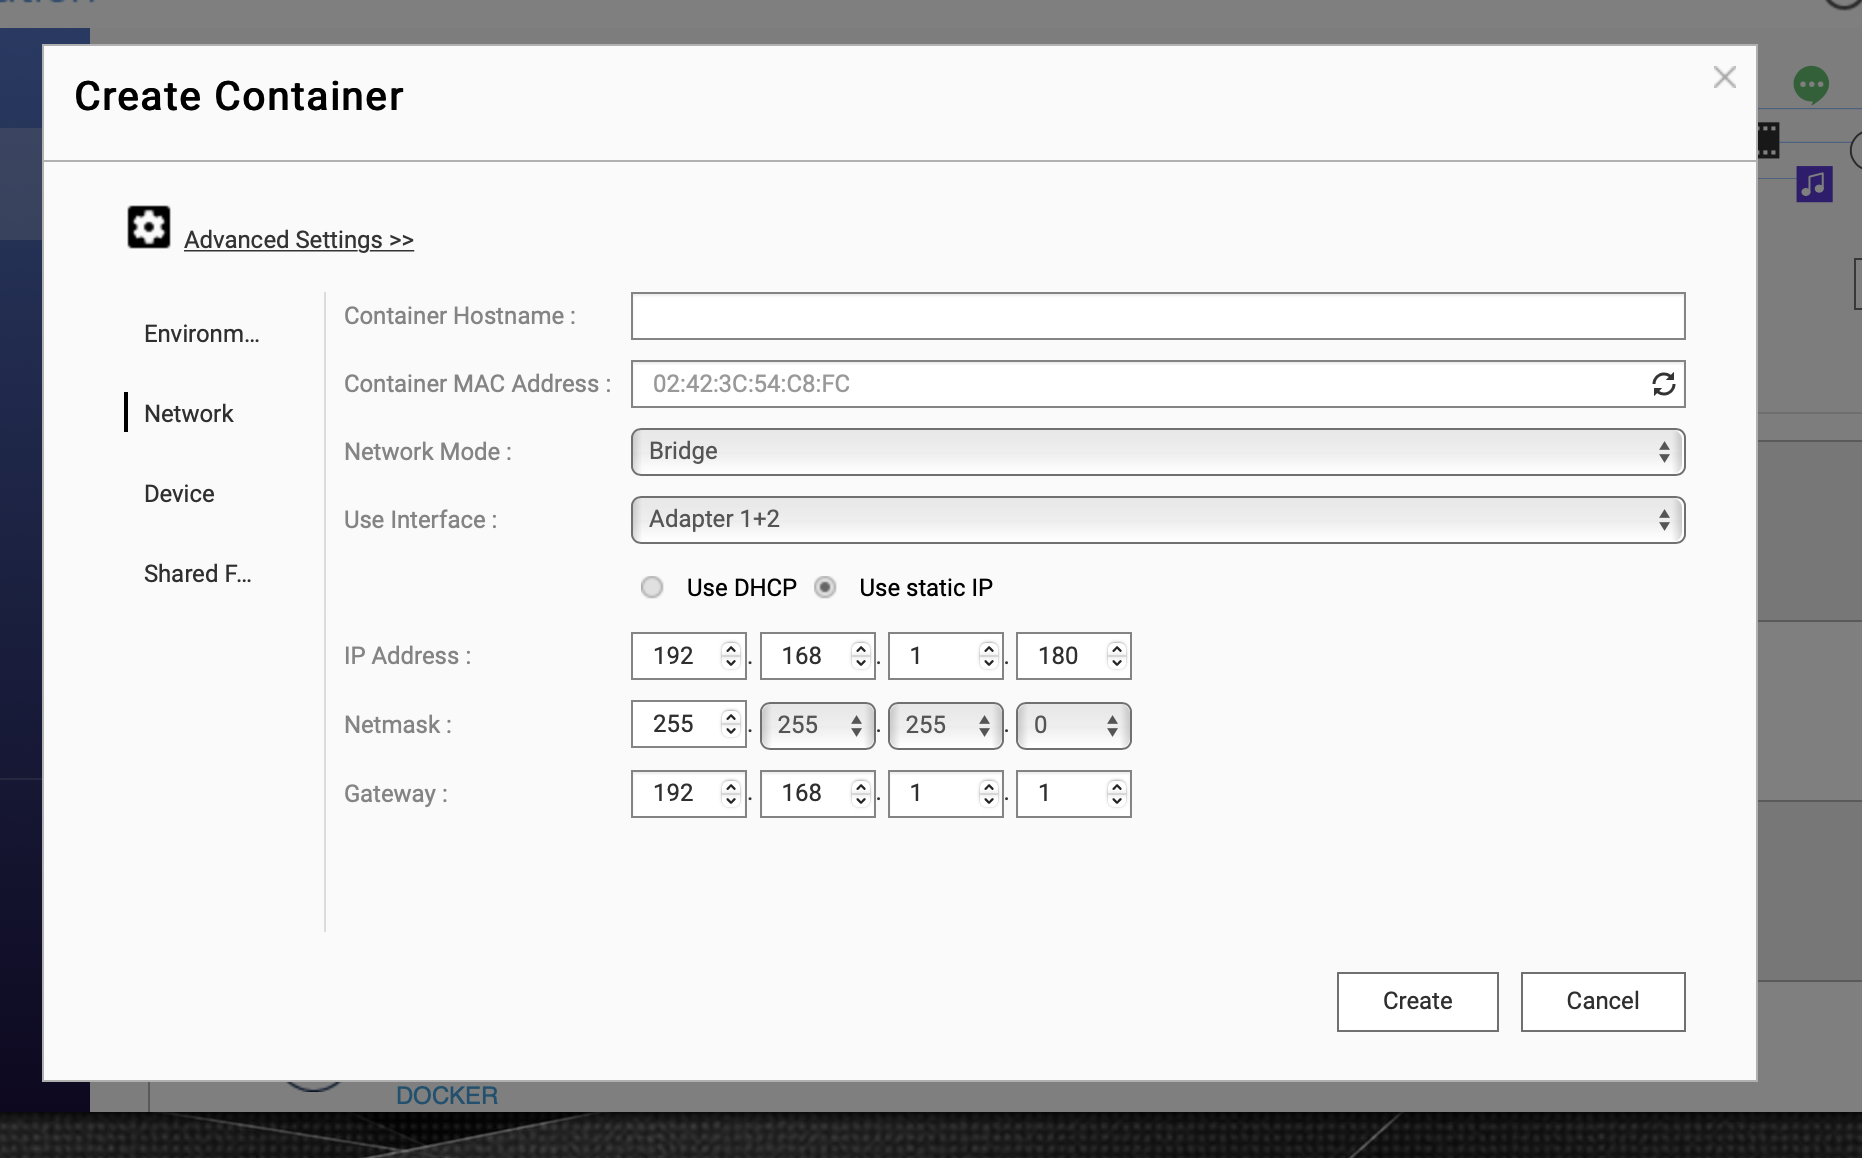
Note : if you choose the bridge mode, the container will be on the network as it is a device wired on your lan.
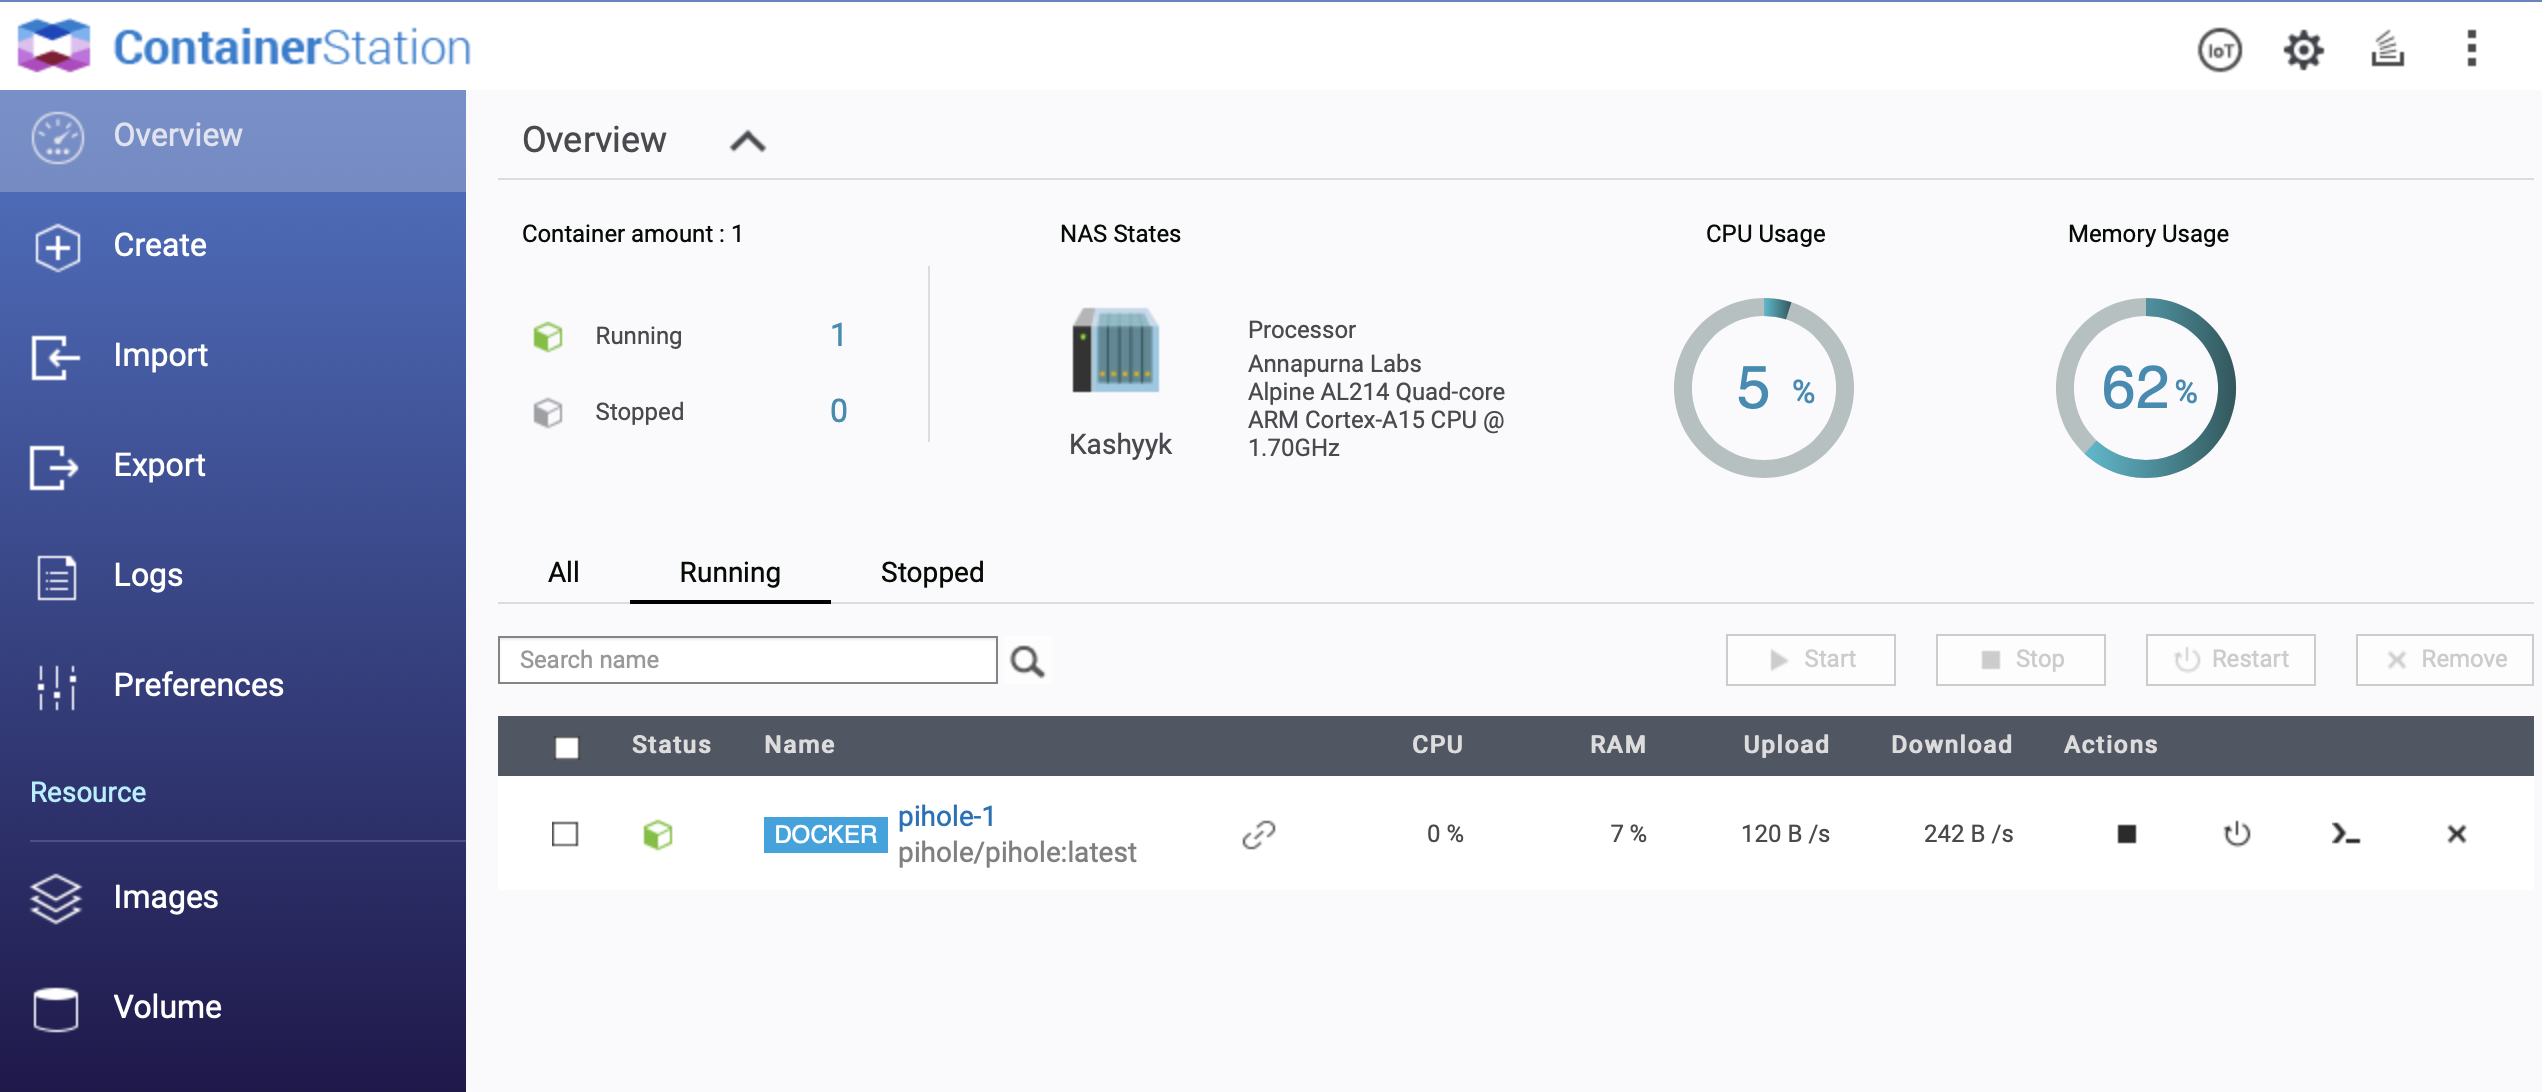
The creation is running :

And created !
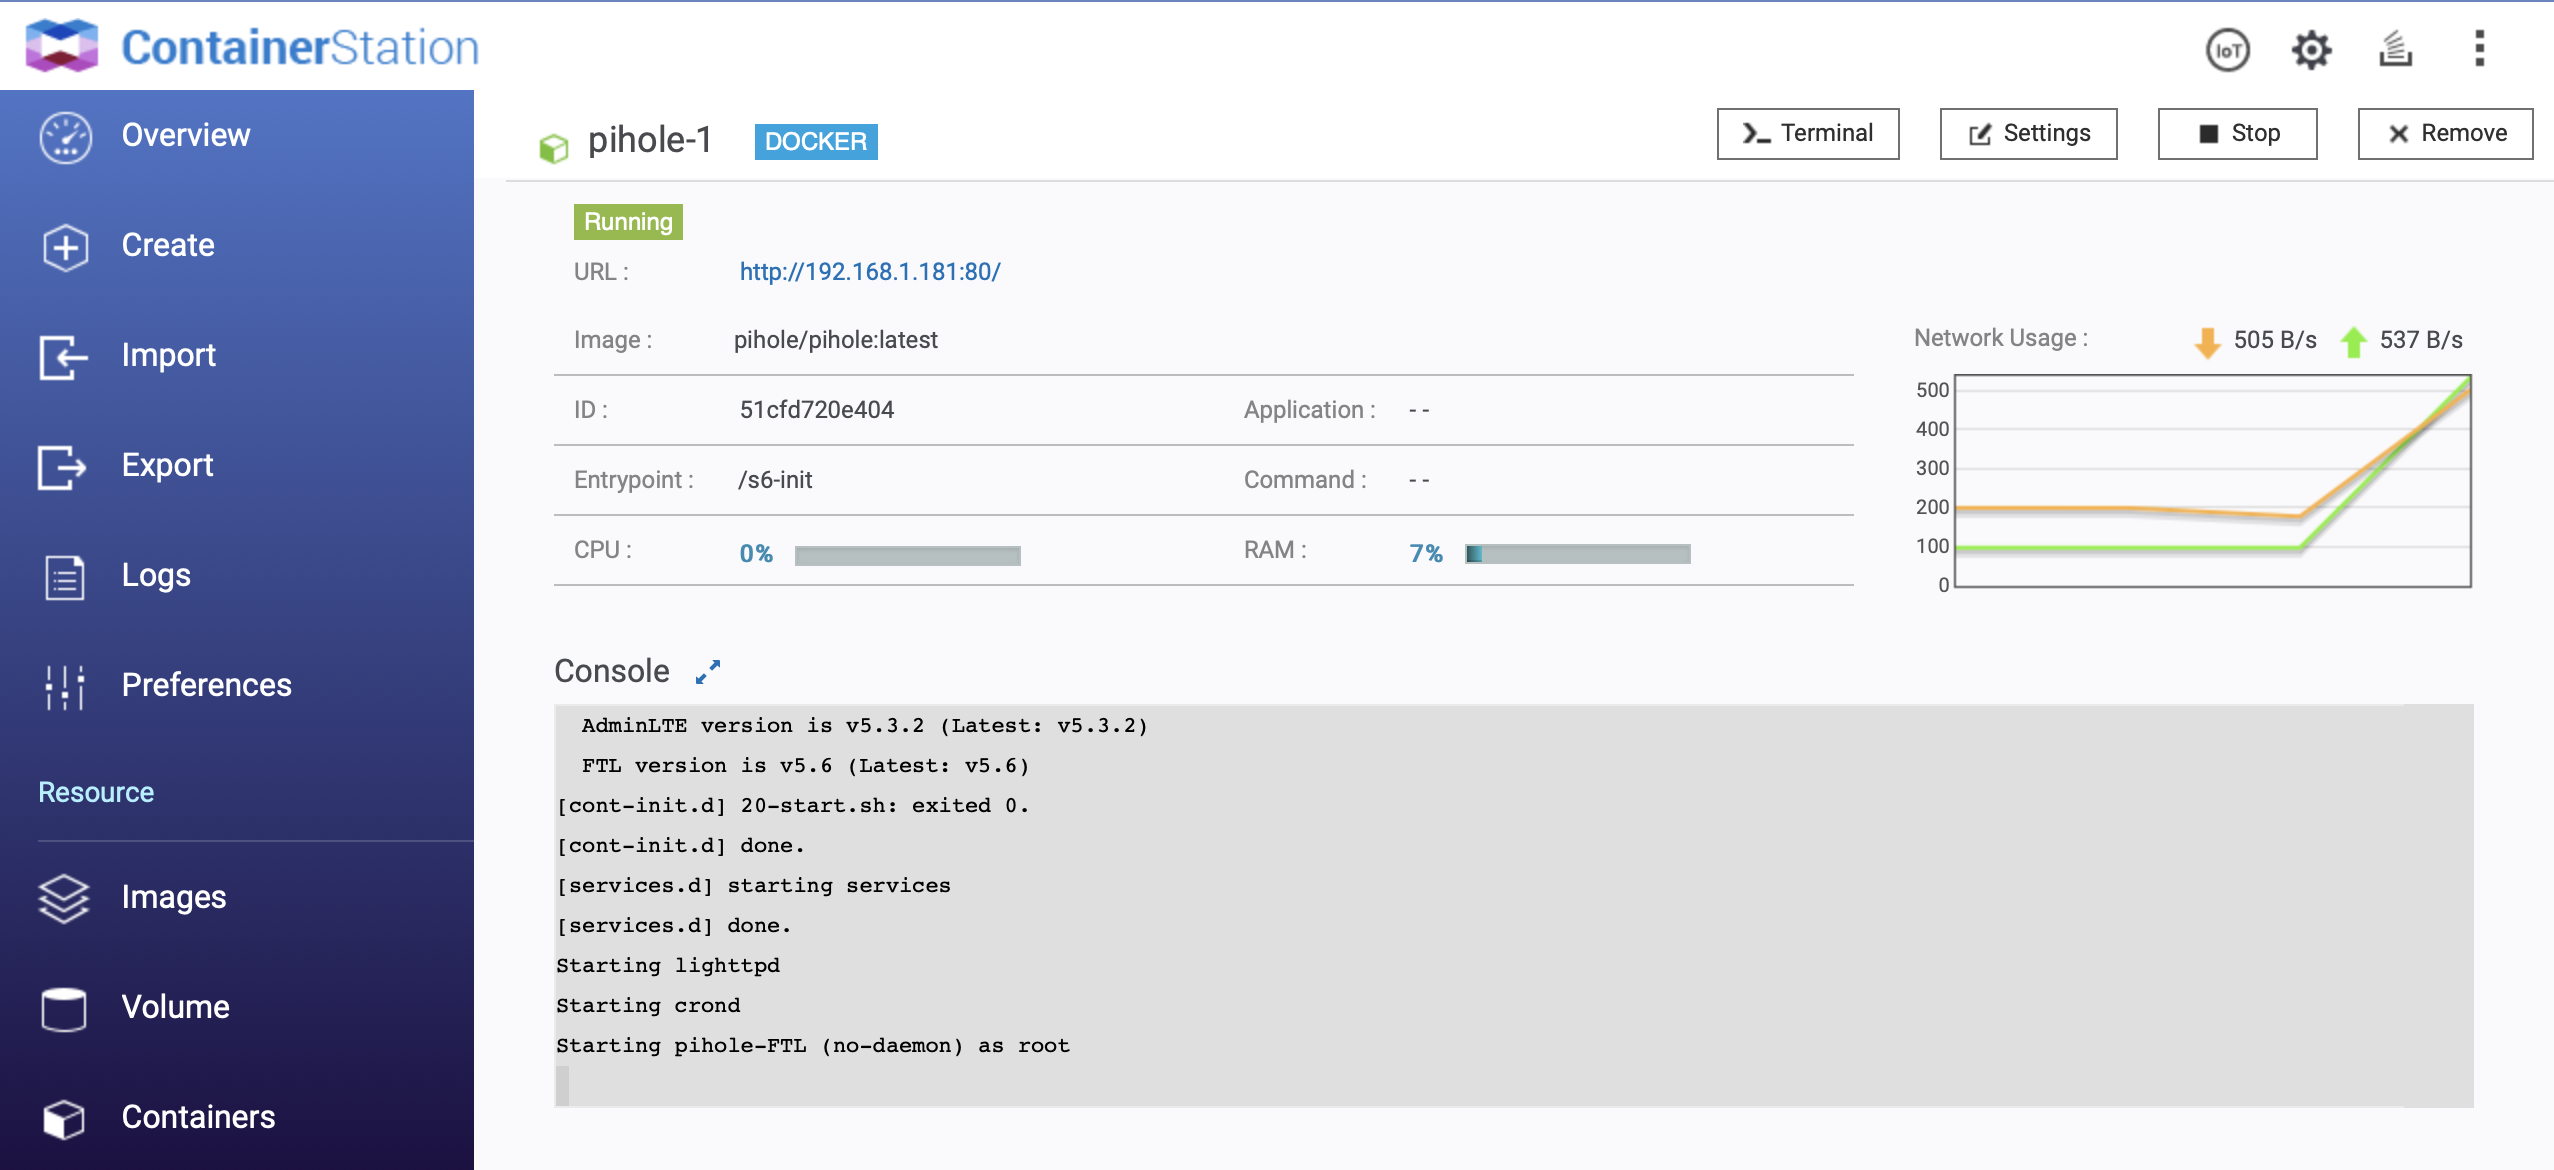
If you click on it, you will get more information, like ip, ports used, some kind of monitoring, and even a console, which give you a root shell :
Pi-Hole
Once installed, go on your container ip in your browser :
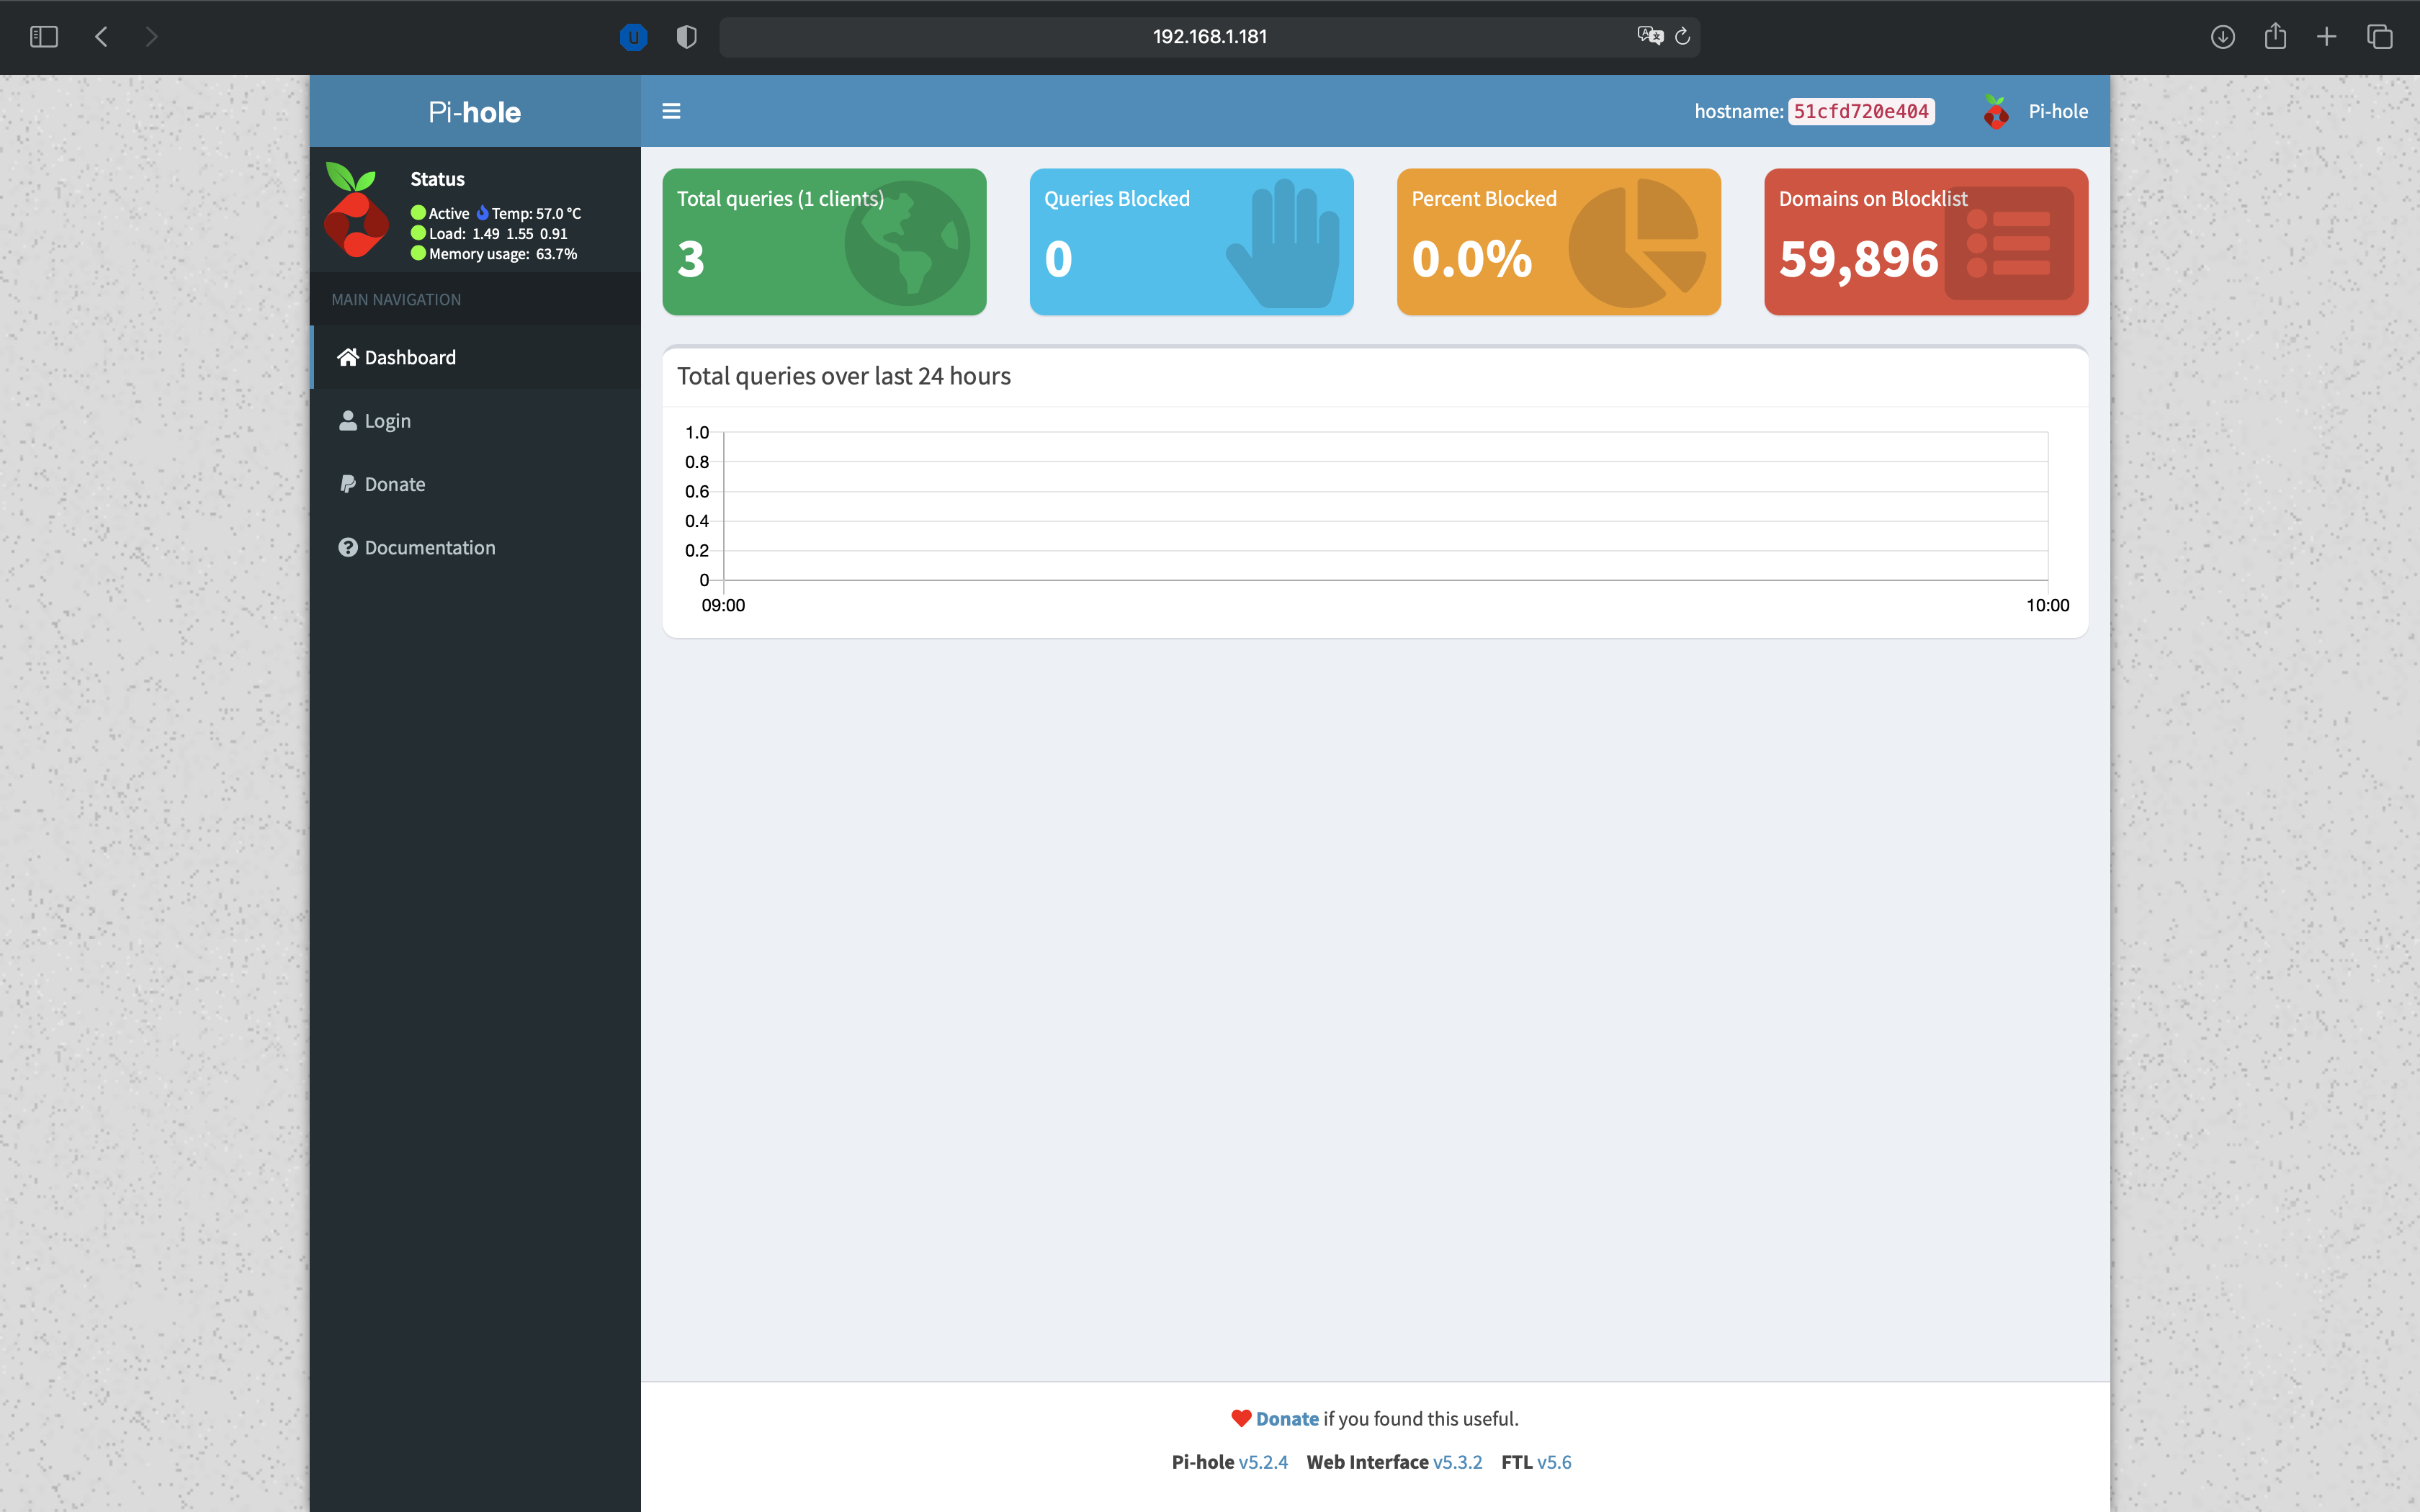
The password to log into the interface is displayed in the console of the container.
And that’s all!
Sources
Pi-Hole : https://pi-hole.net